preservation
Pickled
There is something strangely satisfying about biting into a sweet, salty, spicy, sour morsel of produce picked and jarred at its peak ripeness. The experience lends itself well when contrasted with something rich and fatty, or something in need of added brightness. In my brief but busy career as a pickler, I have found that almost anything can and should be pickled. The art of pickling falls under the more general category of preservation—which is another topic, but one equally worth exploring—and can be very straight forward or more nuanced if you so desire. In essence, vegetables, fruits, proteins, etc.. are covered in a hot solution of sugar, salt, vinegar, and various flavorings. Allow to soak up this brine for a certain amount of time (usually overnight and up to years) and voila! delicious bites of tangy goodness.
I encourage you to take a stab at making some simple pickles with this easy to follow guide. Soon you’ll be plunging all sorts of produce into hot vinegar and pulling out delicious morsels for your endless charcuterie boards.
When making your own pickles, there are a few things to keep in mind that may help guide you, especially if you begin to experiment with various pickling products (PP):
- Texture– typically pickled vegetables are meant to provide a crispy crunch; however, this is a rule that can be broken. For example, sometimes your PP may not have significant surface area (aka thin) and this may make the final product hard to chew. Think about a cubed beet, or a floret of cauliflower. Without blanching or par-cooking you’re left with something that might have bright flavor but is unpleasantly hard to eat. Also, par cooking may begin to breakdown cell walls of vegetables and thus allow for increased permeation of the delicious pickling brine into the center of thicker PPs.
- Sweet/ Sour/Salt balance– You are truly a pickler when you can taste the brine you are preparing and are able to adjust the strength of sweetness/ sourness by adding vinegar, sugar, or water appropriately. Consider what you are pickling- beets are sweet, maybe make the brine slightly tangier; turnips/ radishes have a natural spiciness to them, maybe make slightly sweeter. Also, be careful how strong your brine is. Distilled white vinegar and sugar alone can make a pretty noxious solution so the addition of water is a must. Another thing to consider will be brine strength. The basic brine recipe provided is of medium/ medium strong potency and can easily be adjusted.
- Flavorings– This is where the fun begins. Go wild. But you can go through a lot of spices/ herbs with which the final product may only taste like sugary vinegar. I typically like to include one “warmly sweet” spice (cinnamon, juniper, clove, etc..) and something spicy (a dried chili). I find this starts a nice, well balanced dialogue between flavor profiles. You then can accent with a host of other players—peppercorns, mint, ginger, lemongrass, star anise, fennel/anise seeds. The options truly are endless.
The Process…
It’s best if you can buy new mason jars when pickling (the seal forms easier); however, if you reuse jars, be sure to clean thoroughly with boiling hot water (boil them). I also recommend boiling the jars for 5-10 minutes after filling them with pickles/ preserves. This will ensure a tight lock on the lid. It’s hard to gauge how much master brine to make since the volume of liquid displaced by PP (ie. vegetables) will change based on how much you can fit into a jar. The brine outlined below will fill 4 pint sized mason jars. It’s always best to make some extra than to not have enough.
- 0-1.5 cups sugar
- 2 cup vinegar
- 5 cup water
- 2 tbsp of kosher salt
Place everything in a medium saucepan and bring to a boil, stirring until everything is dissolved. While this is coming to a boil prepare, you’re the contents of the jars.
For a lighter brine, reduce the sugar and vinegar by ½ cup each and replace with a cup of water and 2 more tbsp of kosher salt.
Some Examples (for 16 oz mason jars)…
Green beans- In each 16 oz. Mason jar place 1 tsp juniper berries, 1 dried hot chili, 2-3 cloves garlic and a bay leaf.
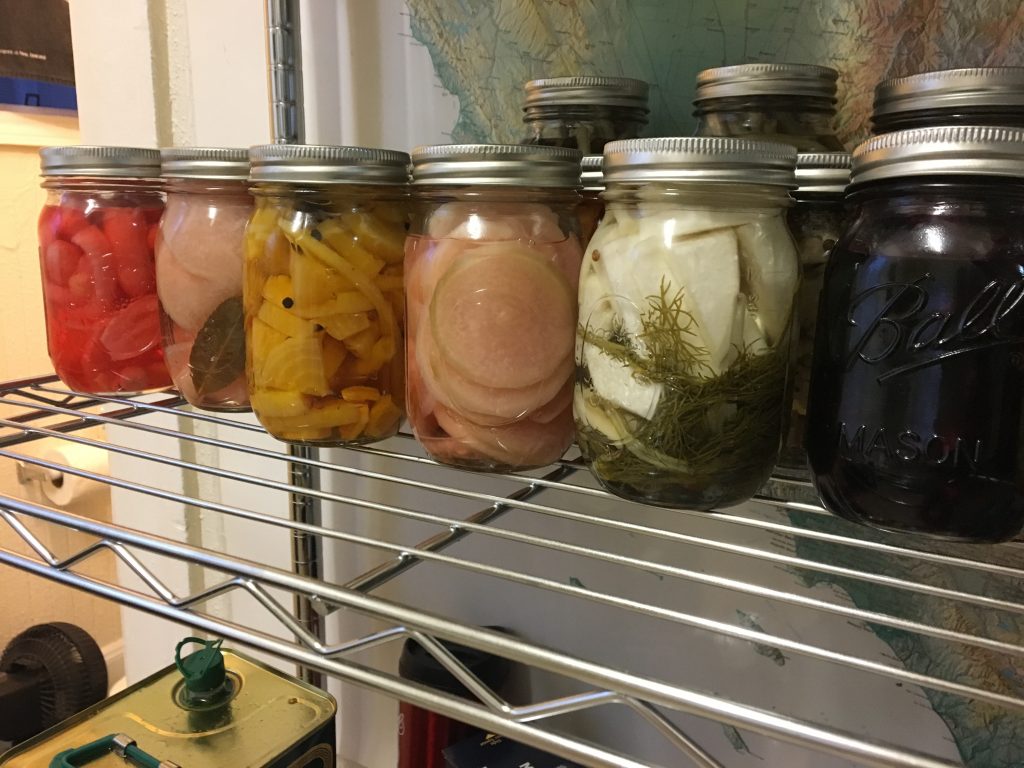
Turnips (peeled, sliced ¼-1/2 thick)– In each 16 oz Mason jar place 1 tbsp coriander, 3 sprigs fresh mint (1 tsp dried mint). A few slices of yellow onion
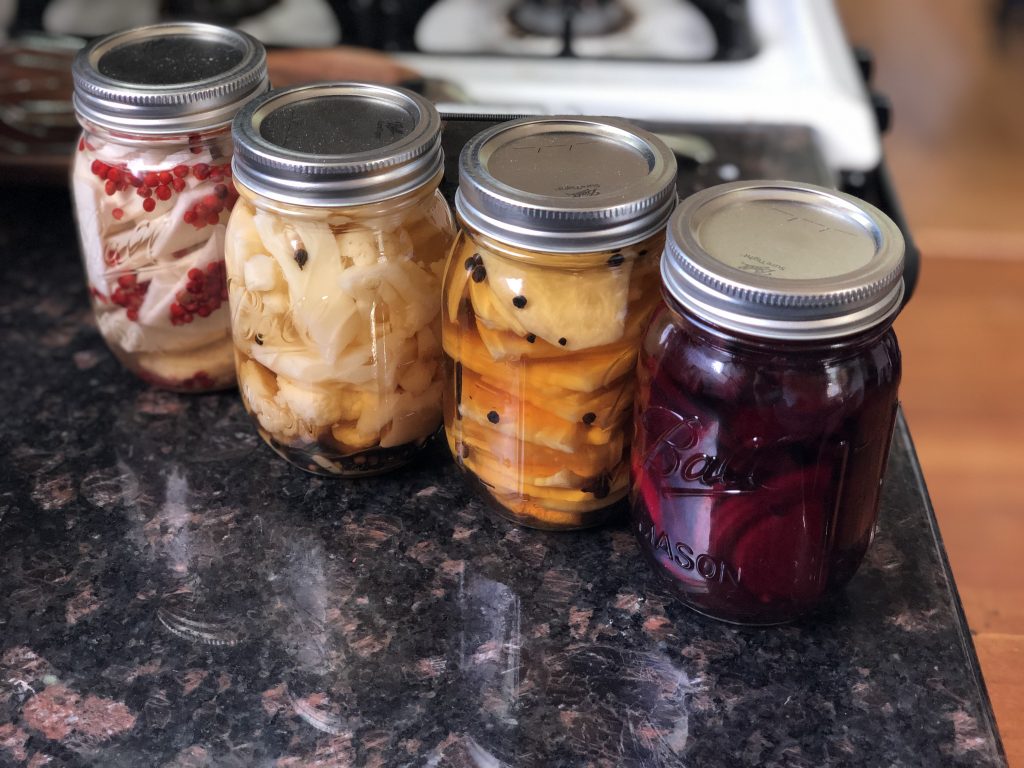
Beets (red), peeled and prepared – I like roasting the beets until almost tender then slicing ¼-1/2 in thick (or roughly in ½ in cubes, but you could slice thin (<1/4 in) and use raw. Combine with a 2 in piece of cinnamon bark, 1 tbsp peppercorns, and 1-2 dried hot chilies. A few slices of red onion
Beets (golden), peeled and prepared- Prepare similar to red beets. Place in each 16 oz Mason jar 1 tbsp pink peppercorns, 2-3 cloves, a few slices of yellow onion. Ginger root also works well in place of the clove.
Beets, raw- The key is to slice as thin as possible otherwise they will be too crunchy to enjoy. You can prepare using the same flavors above.
Some other things to play around with..
Vegetables
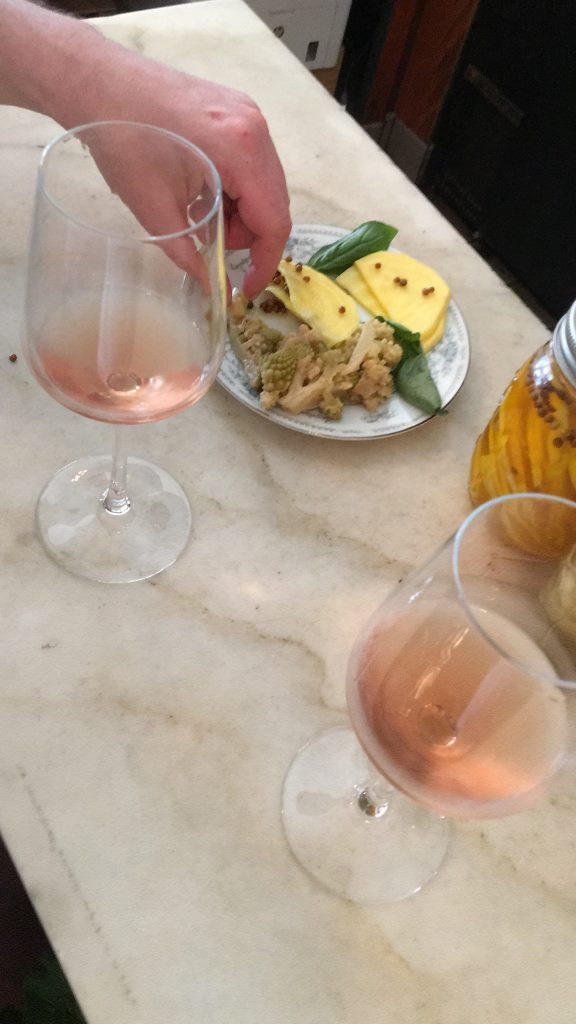
Cauliflower/ Romanesco– cut into florets, if larger florets (>1 in cubed) then blanched (if you want a softer texture); Radishes– be sure to cut medium thin and use a flavoring with powerful aroma (I’ve found lemongrass to work). These smell bad otherwise; Peppers– sliced; Carrots- sliced thin; Onions- red or yellow sliced thin; Fennel bulb– sliced thin
Flavors
Dried chilies, garlic, ginger root, turmeric root, bay leaves, fennel/ anise seeds, cardamom, cinnamon bark or anise pods, mustard seeds (yellow or brown), caraway and cumin seeds, peppercorns, juniper berries, Thyme, rosemary, oregano, dill, mint, fennel (frond)—note that the fresh herbs are usually less potent than seeds, so use more of them or less of everything else.